
Hexo Editor on Linux is Awesome
I was already using Hexo as my primary blog writer because I loved the fact I can write articles in Markdown. I wrote all my markdown manually though and my code blocks were very bland (minimal code highlighting, no line numbers).
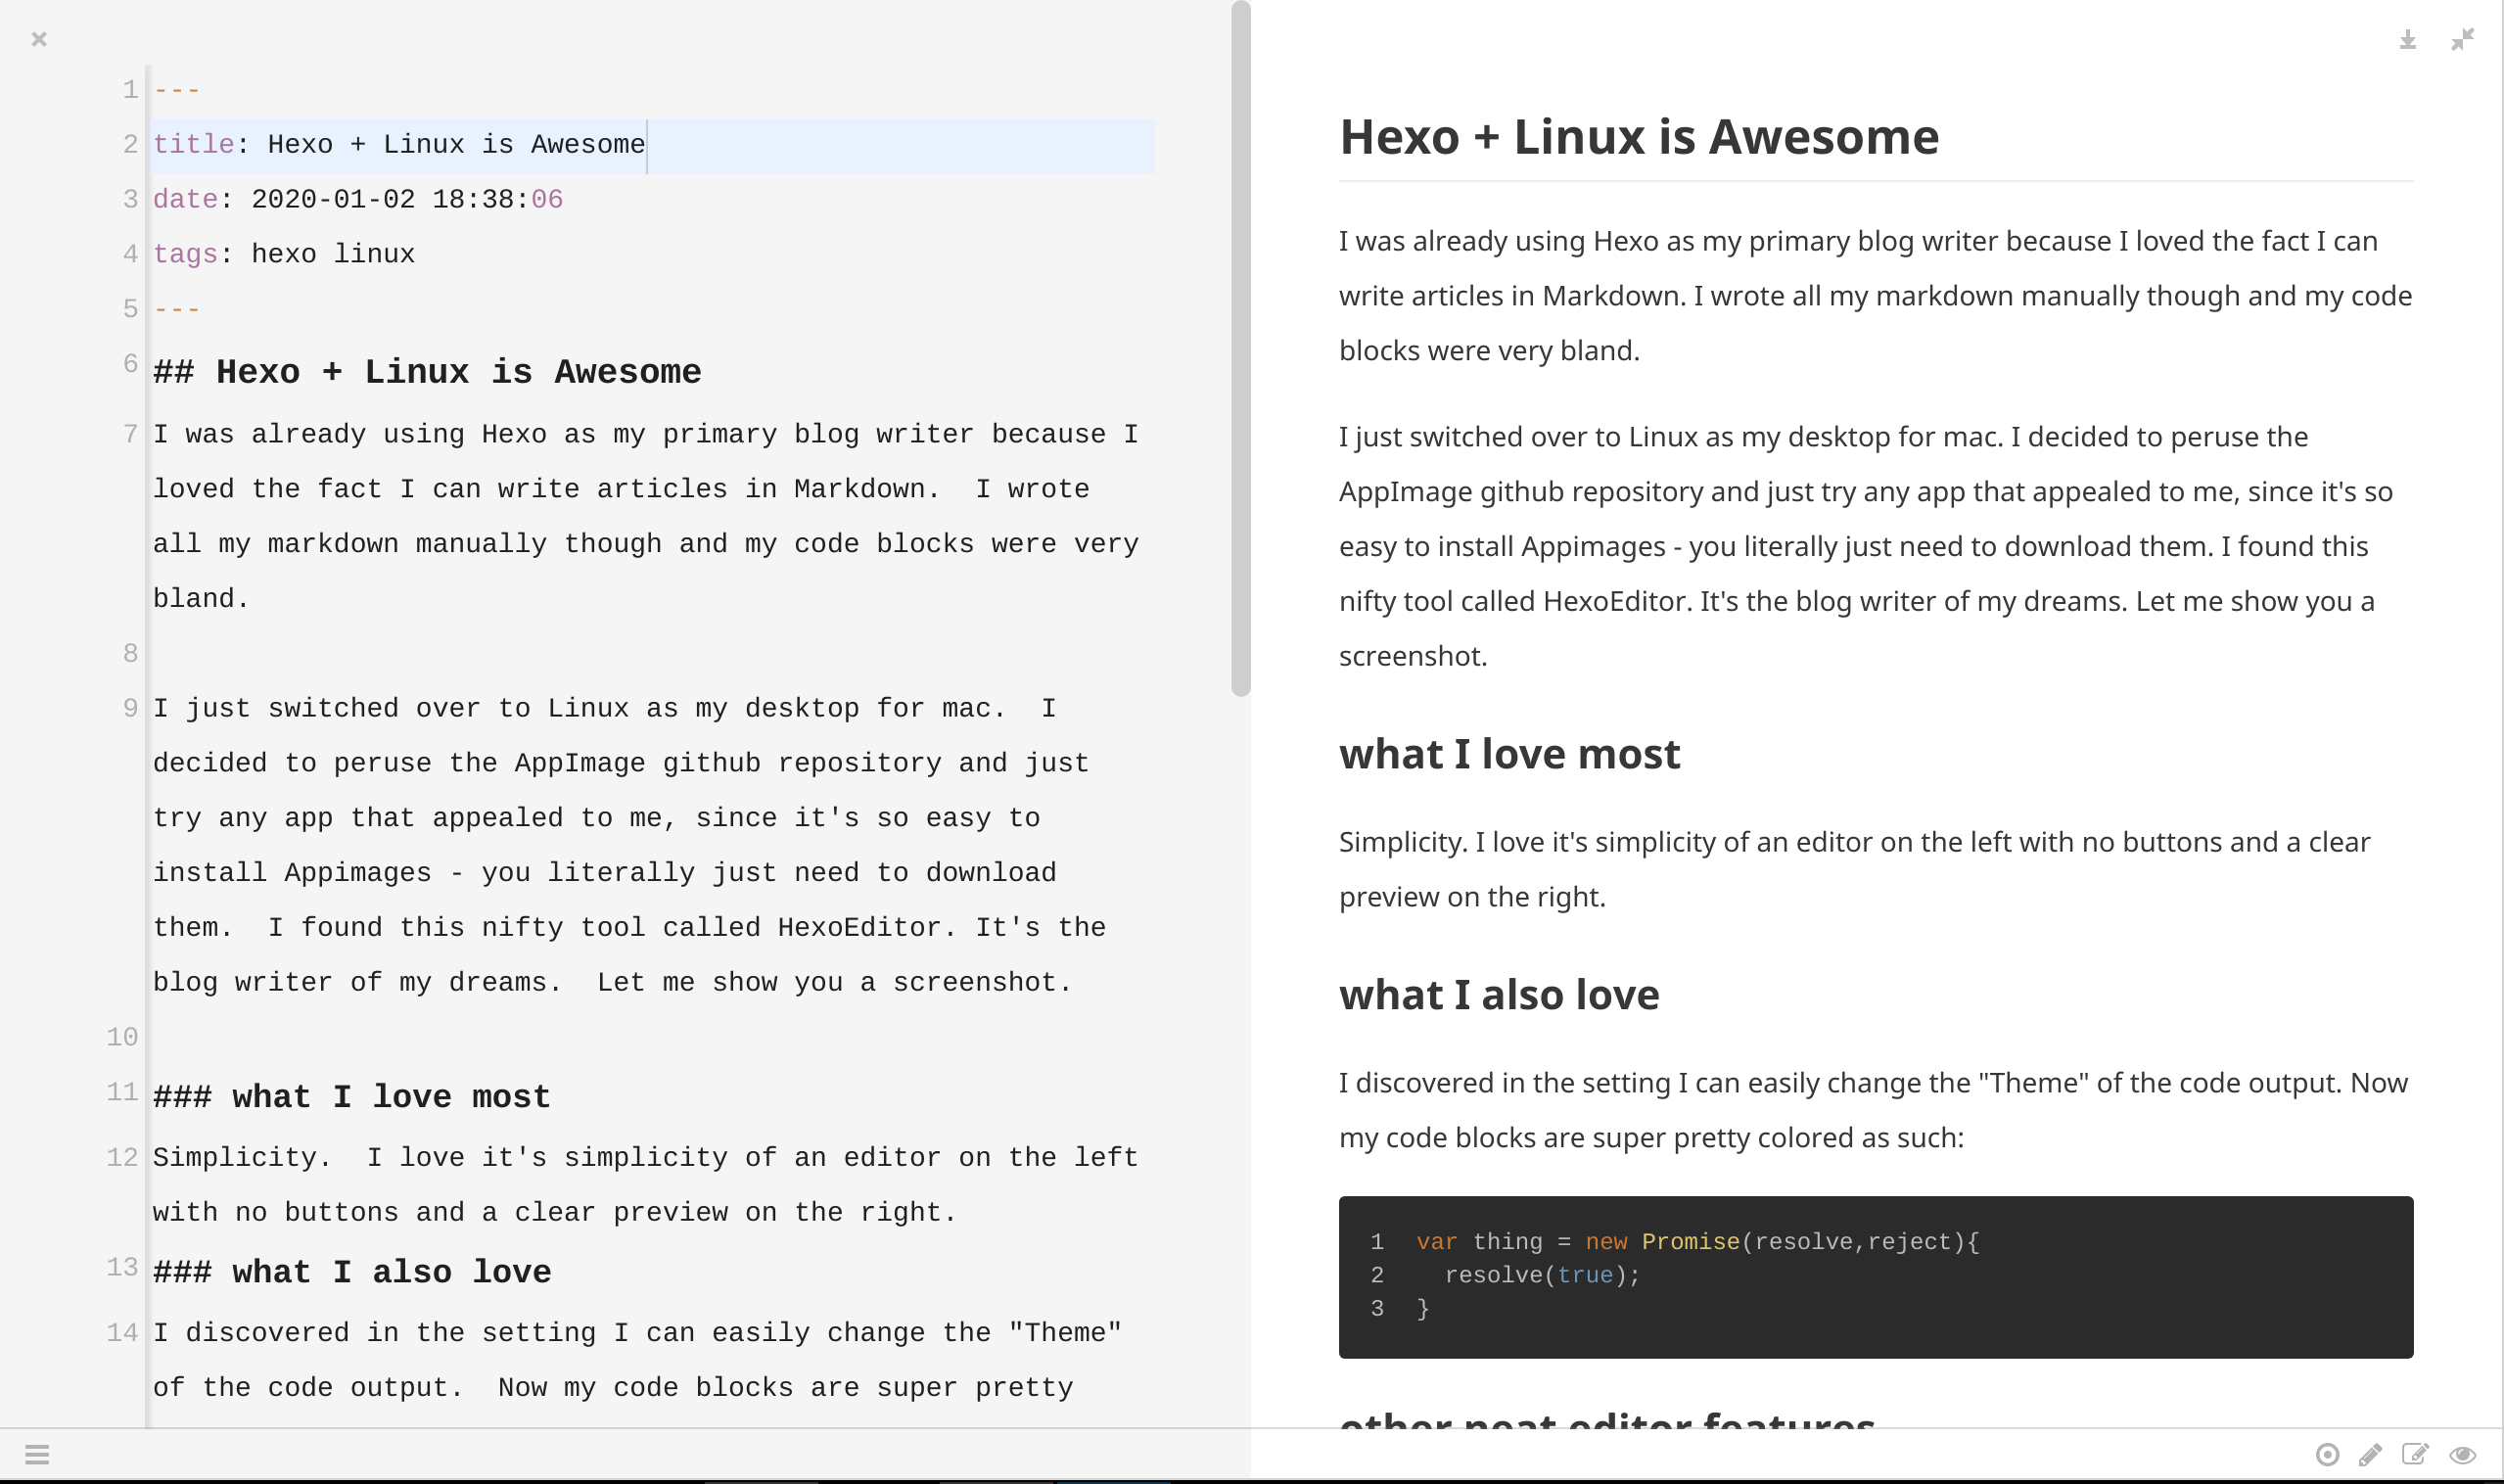
I just switched over to Linux as my desktop for mac. I decided to peruse the Appimage Github.io repository and just try any app that appealed to me, since it’s so easy to install Appimages - you literally just need to download them. I found this nifty tool called HexoEditor. It’s the blog writer of my dreams. Let me show you a screenshot.
what I love most
Simplicity. I love it’s simplicity of an editor on the left with no buttons and a clear preview on the right.
what I also love
I discovered in the setting I can easily change the “Theme” of the code output. Now my code blocks are super pretty colored as such:1
2
3var thing = new Promise(resolve,reject){
resolve(true);
}
other neat editor features
- Focus mode: Everything I previously have written fades in the background, and only the paragraph I am currently typing is in full opacity.

- Full Preview or Full Editor mode, you don’t need to be side by side if you want to just see one or the other
- I can export the fully rendered markdown as html directly if I wanted to publish the page somewhere other than my Hexo blog. Or, if I was writing my resume in markdown I could export as PDF, wicked.
- And of course, if I specify my _config.yaml file in the Hexo Editor settings, I can easily create a new page directly from the menu and it will have the required formatted header metadata.
in summary
HexoEditor allows me to focus on writing blog posts and ignore all the mundane work of building a “website”. I love Hexo because of it’s simplicity and ease of use, this editor feels like a terrific extension of that mindset.